In the Android Rooting and development, Magisk Root is likely to take over Chainfire’s SuperSU because of its systemless root method and its compatibility with many smartphones and rom.
Not to talk of online reviews, I have personally used Magisk and really loved it. But that’s by the way, I am going to talk about it later.
Before moving on, I am going to talk about Magisk, Magisk Manager, and Magisk root.
What is Magisk?
In my recent post, I talked about Chainfire’s SuperSU, Magisk is the best alternative to SuperSU. Magisk is an Android rooting privilege that allows a superuser access android apps that requires root to communicate with the smartphone.
This means that with Magisk, a user can control the access right between a root app and Android but with Magisk, everything happens systemless-ly.
The only con of Magisk is the compatibility issue, Magisk only supports the later Android version which is Android Lollipop (Android 5.0) and upper but Chainfire’s SuperSU supports almost All Android versions and Newer.
Magisk is developed by an XDA Developer Topjohnwu and SuperSU by Chainfire.
What is Magisk Manager?
Magisk manager is like the SuperSU app, without Magisk manager, you won’t be able to give any app need root privilege and privilege.
All the Magisk functions and modules rely on Magisk Manager to work, you can root your smartphone with Magisk but if you uninstall Magisk Manager, you won’t be able to grant root permission to any app on your smartphone.
Magisk Manager is not just granting root permission but there are versatile options that exist in Magisk Manager that make it very different from SuperSU. I will be highlighting a little big Advantage of Magisk in Android phones.

Pros Of Magisk
-
Magisk Module
Just like the Xposed Framework Module, there are many modules and functions you can enjoy with Magisk. Once you root your smartphone with magisk, you can enjoy many Magisk Module.
-
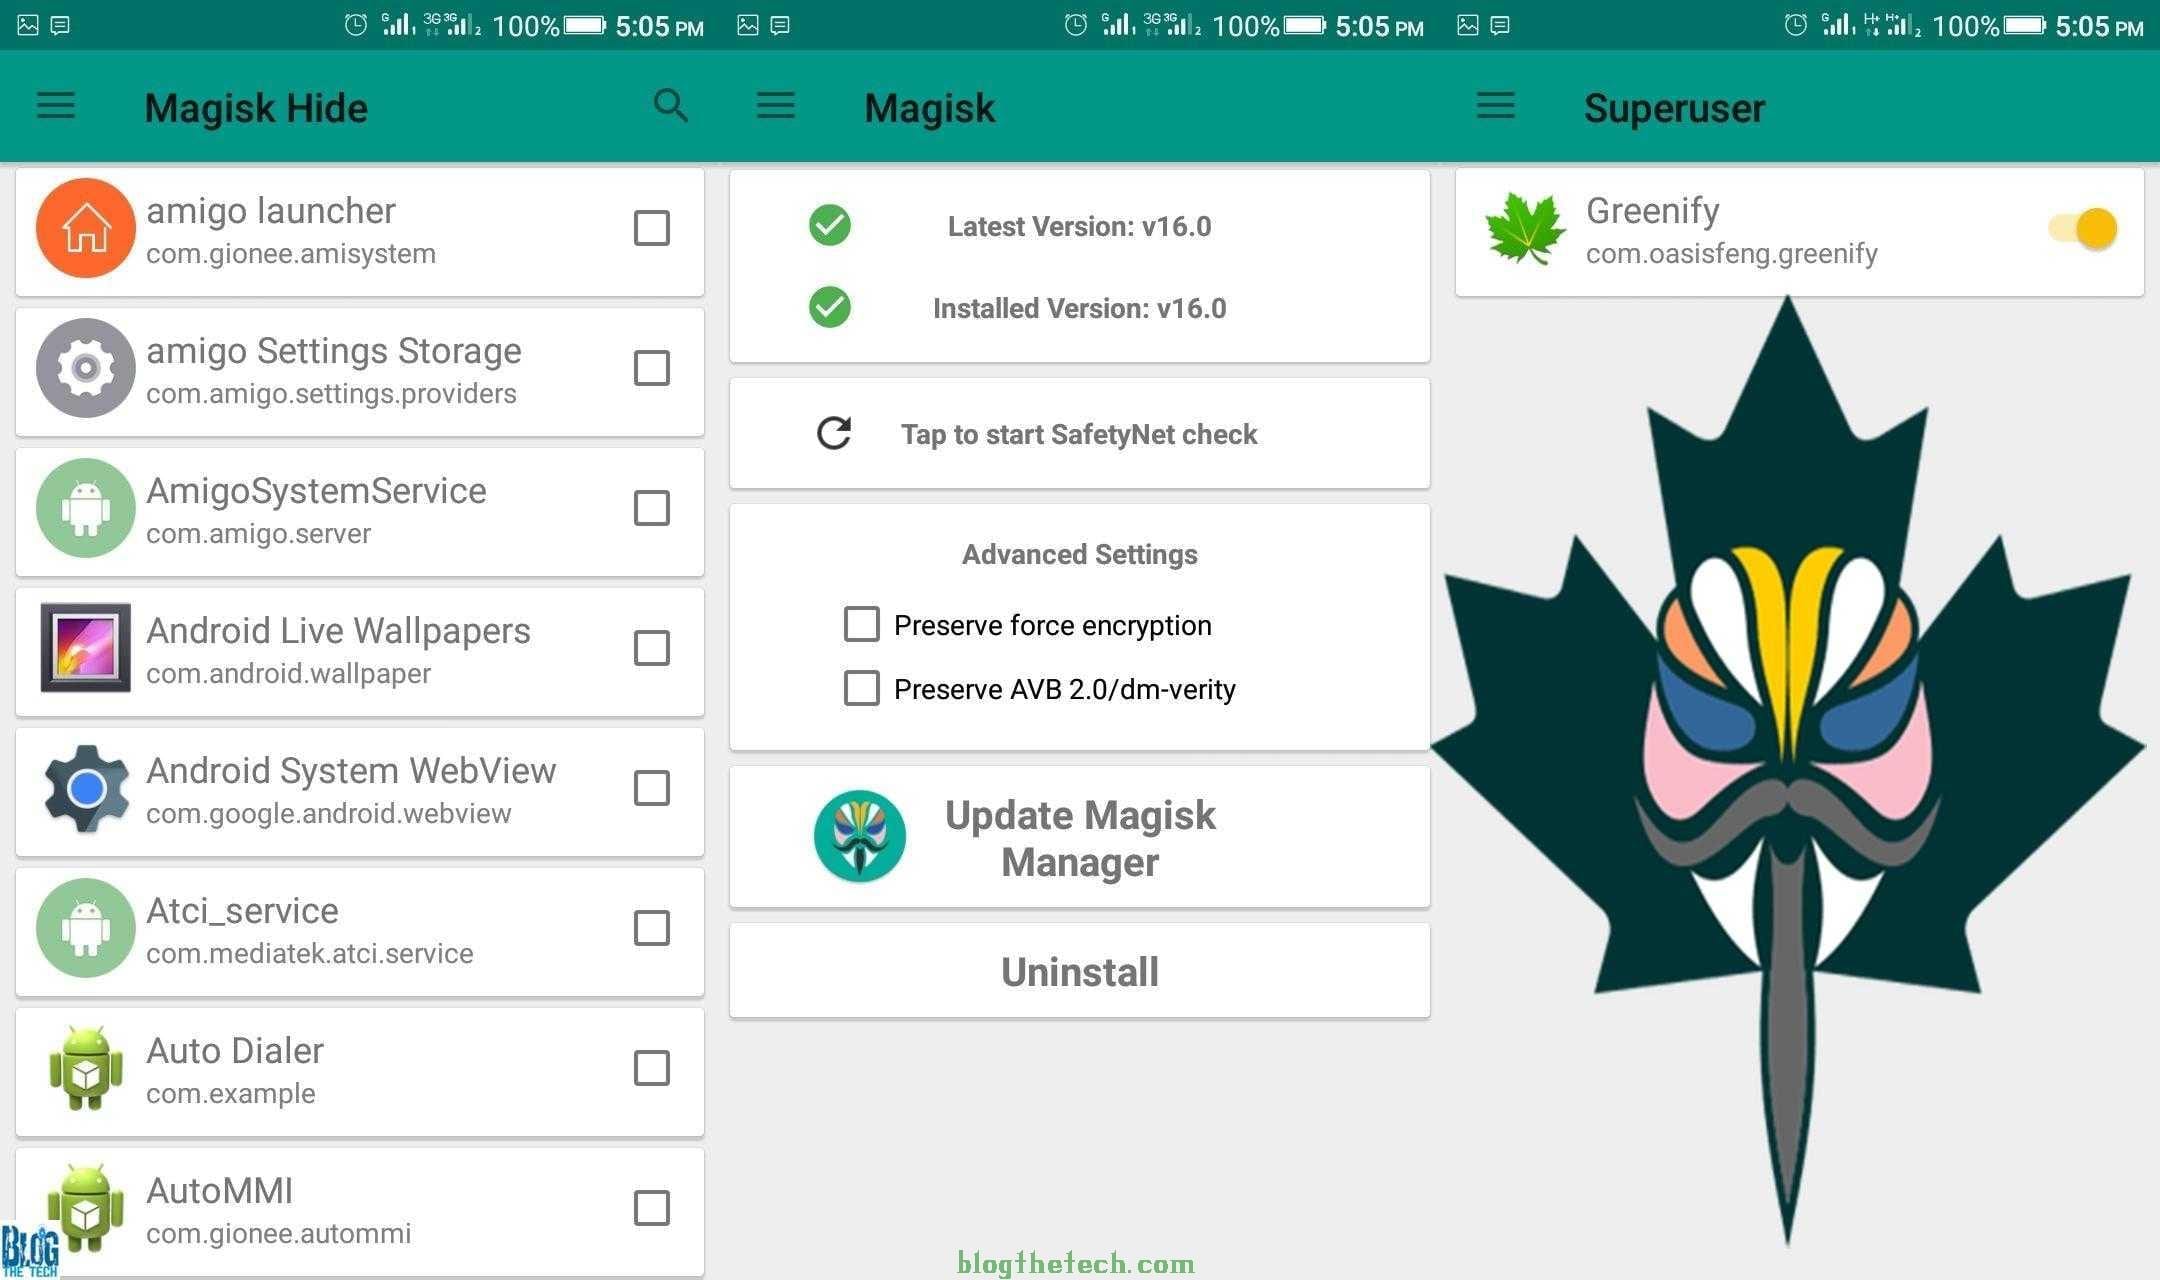
Magisk Hide
In some smartphones like Gionee and some others, once a smartphone is rooted, the phone might start giving disturbing notifications and alarms, some applications might stop work such as some banking apps,, Pokemon GO, and others that is why it is called systemless root.
Well, Magisk Hide fixes that and you have the ability to hide Magisk from those apps, your phone will still be rooted but those apps won’t know and you can use them without having any issue.
-
Magisk Install
With Magisk Install, you can choose to install Magisk or uninstall Magisk from your phone. You can as well install it back any time you want.
-
Magisk Resetprop
Magisk Resetprop helps in modifying system files such as build.prop. You can do many changes to your system files including read-only files.
-
Magisk Download
Just like the Xposed Framework, with the Magisk download, you can manage all your Magisk repositories and choose whether to install them.
-
Magisk Superuser
Magisk Superuser which is the main function of Magisk gives you insight about which app requested root permission and the permission they were granted.
When you click on the app, you can see many options whether to delete the app, send a notification when the app is granted root permission, send a compatibility report or bug report about the app, or just disable superuser access.
When an application requests root access, this is what pops up asking you whether to grant root access or deny.
Cons of Magisk
-
Not supporting some Android 8.0 Oreo
Some Android 8.0 Oreo and upper are having issues rooting their smartphone with Magisk and a few other smartphones. Some developers are already working on fixing it.
-
Not supporting later Android
Magisk supports only the Android version from Android 5.0 Lollipop and up. If you fall behind the row, you might want to root your smartphone with Chainfire’s SuperSU Rooting.
Download SuperSU ZIP File and How to root with SuperSU ZIP
Download Magisk V16.0 and Magisk Manager V5.8.3
Magisk is rolling out its latest version of the Mgisk App with its version 5.8.3 with lots of bug fixes, it is always advisable to update your Magisk so that you can fix any issues you might be facing in your smartphone.
Magisk v16.0 zip file (Flashable)
Download Magisk v16.0 Flashable ZIP file
Magisk Manager V5.8.3 APK
Download Magisk Manager V5.8.3 APK
Magisk Rooting Prerequisite.
- A Windows PC.
- Your smartphone
- A working USB Cord.
- A Good Battery Backup.
- Magisk zip file (download Magisk v16.0 Flashable ZIP)
- Download Magisk Manager V5.8.3 APK
- A TWRP / Philz Recovery
- An ADB Fastboot script.
- Smartphone stock boot.img
- Download ADB Fastboot Tool
I am going to provide you with two(2) quality methods you can root your smartphone with Magisk. The process depends on the current state of your smartphone which inclines whether you have some f the requirements above.
You can download your smartphone stock firmware to get stock boot.img or dump it with Miracle Box or any dumping software.
Please skip any requirement if it already exists on your smartphone.
Methods of Magisk installation
There are two methods of Flashing Magisk on your phone.
- Flashing Magisk zip file (download Magisk v16.0 Flashable ZIP) through a custom recovery
- Patching a stock boot.img using Magisk.
For you to use the first method, you must have a custom recovery like TWRP recovery or Philz Recovery before you can make use of the first method but if you do not have a custom recovery at all, then, you are going to need a PC then to flash patched boot.img with Magisk which is the second method.
So, whichever one you fall into, I am going to cover the two. I am going to go with the first one.
Because the installation and flashing of custom recoveries or TWRP recovery might be different depending on socs, smartphone makers, chipset, and brands, I won’t be covering any method here. Anywhere you have must be gotten TWRP or a custom recovery, they are going to provide a way you can flash them to your smartphone, if they didn’t, drop your comment and the end of the post and I will help you out.
Flashing Magisk zip file (download Magisk v16.0 Flashable ZIP) through a custom recovery
-
- First, Flash TWRP recovery or your preferred custom recovery to your smartphone.
- Take a complete backup of your smartphone with a custom recovery or TWRP recovery.

Back Up with TWRP Recovery - Download the Magisk v16.0 Flashable ZIP file.
- Copy the downloaded Magisk v16.0 Flashable ZIP File to the root of your SD card or internal memory.
- Power down your smartphone(power off).
- Boot your smartphone to fastboot or recovery mode, whichever place that goes first.
- Once you are on custom recovery or TWRP recovery, click on Install.

Install SuperSU ZIP file - Once you click on Install, it will bring your Internal memory first, if the downloaded Magisk v16.0 Flashable ZIP is your internal memory, you can scroll down and flash it, if its not, click up and select external memory.

Select Magisk V16.0 zip file and Flash in custom recovery - Look out for Magisk V16.0 Zip File and flash.
- Wipe cache after flashing and reboot your smartphone.
- Look out for Magisk on your Apps and open it to confirm root.
Patch a stock boot.img using Magisk
- Get your smartphone stock boot.img and make sure it’s in .img extension (boot.img)
- Copy the stock boot.img to your internal storage
- Download Magisk Manager V5.8.3 APK
- Install on your smartphone(enable installation of apps from unknown sources if requested)
- Launch Magisk Manager
- Once you launch Magisk Manager, a request will come up asking you to install Magisk or just click on Install
- Select Install and choose to patch boot image
- Select the storage where your stock boot.img is located and select it
- Wait for it to patch your boot.img
- After patching stock boot.img, close magisk, and navigate to where you placed stock boot.img through the file manager
- Copy the patched boot.img and place it in your system adb folder (the adb you downloaded)
- On an empty space, hold the SHIFT key and right-click and select Open Powershell window here
- A Windows Command Prompt (CMD) will come up.
- Power down your smartphone (power off) or just reboot to bootloader/fastboot
- In the Windows CMD, enter the following command(make sure its rename to the exact on in command line)
-
fastboot flash boot patched_boot.img
- The patched boot.img will be flashed to your smartphone
- Once it finishes, input this command to reboot automatically
-
fastboot reboot
- Wait for your phone to reboot. The first boot might take time, it depends.
- Check your phone for Magisk and enjoy.
If you experience any issue with any of the methods I stated above, please do not hesitate to drop a comment below for an easy fix. Good luck and Happy Rooting.