Starting a stream is easy. Streaming reliably (with clean audio, stable video, and a workflow you can repeat for months) is the part that turns “trying streaming” into a real creator practice.
This updated guide focuses on the essentials you need to go live on Twitch or YouTube, plus a step-by-step readiness plan to avoid the most common beginner failures.
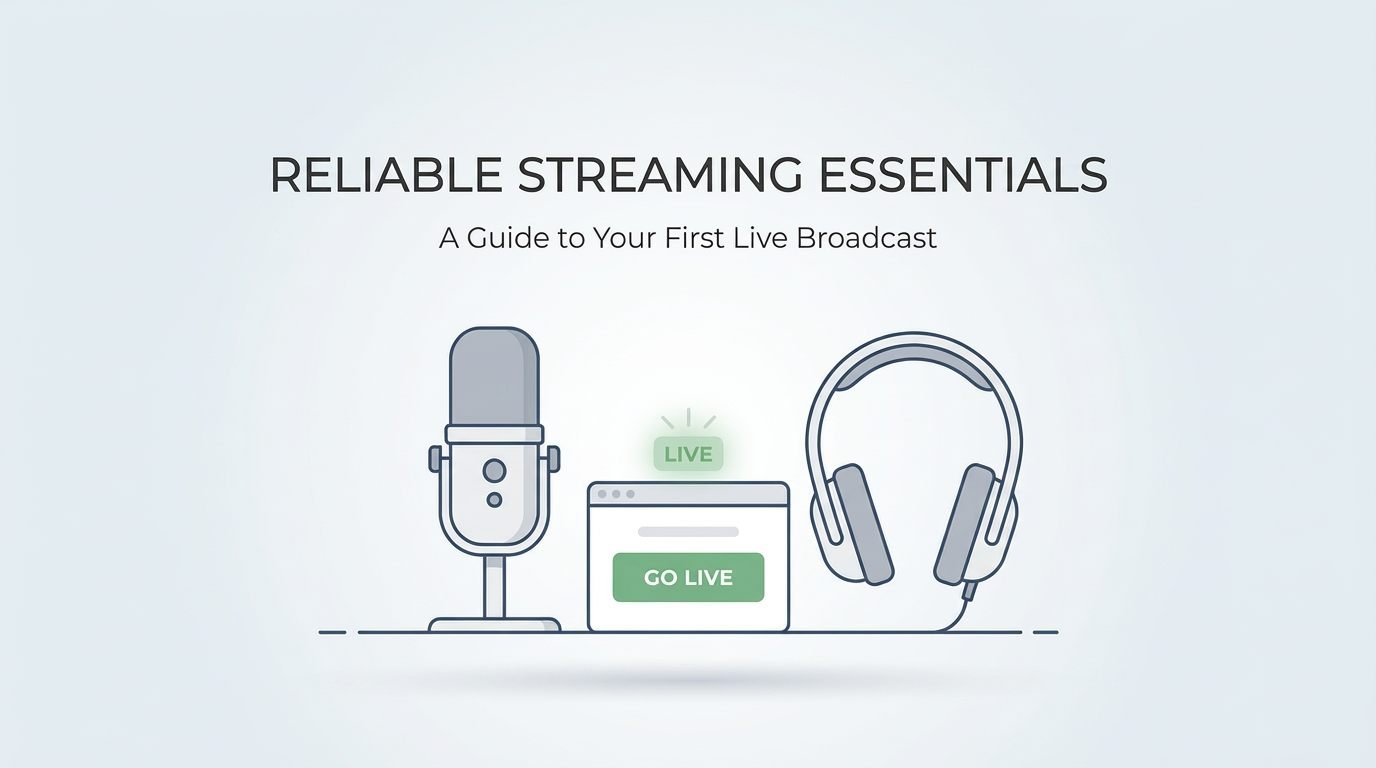
Quick take (minimum viable setup)
- Computer streamers: A stable PC, a decent mic, headphones, OBS, and reliable upload speed.
- Console streamers: Built-in console broadcasting (if available) or a capture card + PC workflow for higher control.
- Upgrade order: Audio first, lighting second, camera third, “bigger PC” last.
Step 1: Choose your streaming “lane” (so you buy the right stuff)
- PC gaming stream: highest performance demand; you’re running the game and the encoder.
- Console stream: simpler to start; less control over overlays/scenes without extra tools.
- Just chatting / tutorials / vlogging: lower GPU demand; audio + lighting matter most.
If Twitch is your primary platform, begin with Twitch’s official “How do I stream?” FAQ so your account, stream key workflow, and creator dashboard basics are correct from day one.
Before choosing your content lane, it can also help to browse examples of different streaming activity formats so you can see how creators structure streams, interact with audiences, and build repeatable content.
Step 2: A powerful PC (when you actually need it)
You don’t need a top-tier PC to start, but you do need a stable machine that can handle your content type without dropped frames. “Powerful PC” means different things depending on whether you’re gaming, screen-sharing, or just doing a webcam stream.
How to verify your PC is ready (no benchmarks needed)
- Run a 20-minute private test stream at your target settings and check for dropped frames, audio desync, or overheating.
- Watch your VOD playback to confirm audio clarity and consistent video motion.
- Have a fallback profile (lower resolution or frame rate) for bad internet days.
Step 3: A high-quality microphone (your #1 retention lever)
Viewers will tolerate an average camera, but they bounce fast when audio is harsh, noisy, or inconsistent. Start with a microphone that produces clear speech and control plosives (“p” and “b” pops) with a pop filter or foam windscreen.
Beginner mic setup tips (that actually work)
- Distance: keep a consistent distance from the mic (don’t lean in/out constantly).
- Monitoring: wear headphones while testing so you hear hums, fan noise, and clipping.
- Room sound: soft furnishings help more than most people expect.
Step 4: Camera and lighting (optional, but high impact)
You can stream without a facecam, but if you use a webcam, prioritize lighting before upgrading the camera. A simple light in front of you (not behind you) does more for image quality than chasing “4K webcam” specs.
How to verify your camera setup
- Check exposure: your face should be evenly lit without a bright window behind you.
- Lock your framing: same angle every stream; consistency builds brand recognition.
- Keep it simple: avoid background clutter that distracts viewers.
Step 5: Reliable internet (upload matters more than download)
Streaming quality is limited by your upload speed and stability. If your connection is unstable, fix that before spending money on a better camera.
Practical Internet Readiness Checklist
- Use Ethernet if possible (Wi-Fi is more likely to spike or drop).
- Run tests at your stream time (peak hours can change results).
- Have a “low bandwidth” profile you can switch to quickly.
Step 6: Streaming software (OBS is the default starting point)
OBS Studio is a common starting point because it’s widely used and free. The OBS Project provides the official downloads and lists supported operating systems on its OBS Studio download page.
If you’re comparing alternatives or want additional feature sets, you can also explore curated lists of free streaming software packages that support overlays, scene switching, and multi-platform streaming.
What to set first in OBS (before you obsess over overlays)
- Scenes: at minimum, create “Starting Soon,” “Live,” and “BRB.”
- Audio sources: keep it minimal (mic + desktop/game) until it’s stable.
- Recording: record locally during your first tests so you can review quality.
Step 7: Platform settings (Twitch vs YouTube Live)
Twitch and YouTube can behave differently at the same “resolution and fps,” so avoid copying random settings you see online. Twitch’s Broadcasting Guidelines explain the core trade-off: higher resolution needs a higher bitrate, and a higher frame rate requires more encoding power.
If you’re streaming on YouTube, Google publishes recommended encoder settings (including bitrate ranges and keyframe frequency) in YouTube’s live encoder settings guide. Use that page as your baseline instead of guessing.
Console streaming: what’s realistic in 2026
PS5 streaming
PlayStation supports streaming via Broadcast on PS5 consoles, and requires linking services like Twitch or YouTube to your PlayStation account. Follow PlayStation’s official PS5 broadcast setup guide to connect accounts and start a stream correctly.
Nintendo Switch streaming
The Nintendo Switch isn’t a simple “stream directly to Twitch” device in practice. PCMag notes the Twitch app on Switch lacked key functionality like broadcasting and that Twitch ended Switch app support, which is why many creators use a capture card + PC workflow for Switch gameplay instead.
If Switch streaming is your plan, read PCMag’s report on the Twitch app leaving Nintendo Switch so you understand the limitations before you buy gear.
Audience growth reality check
Many new streamers worry about growth early on. Building real engagement usually comes from consistent content, clear scheduling, and interactive streams rather than shortcuts. While some services advertise ways to increase channel followers, sustainable growth typically comes from discoverable content, collaboration with other creators, and regular streaming schedules.
Go-live readiness guide (printable checklist)
- Audio: no clipping, no constant background hum, levels are consistent.
- Video: no dropped frames in a 20-minute test, camera not overexposed.
- Internet: stable upload at your planned time, Ethernet if possible.
- Scenes: starting screen, live screen, BRB screen, and an “ending” screen.
- Moderation: basic chat rules, at least one moderator plan (even if it’s a friend).
- Privacy: remove personal notifications, hide sensitive windows, mute hot mic moments.
Common first-stream failures (and fixes)
- Stream is “laggy”: reduce resolution or frame rate, close background apps, test Ethernet.
- Audio echoes: wear headphones, avoid playing desktop audio through speakers.
- Mic is too quiet: adjust input gain, move closer, and keep distance consistent.
- Camera looks terrible: add a light in front of you and reduce backlight.
- Overlays break your PC: simplify scenes until the stream is stable.
Upgrade path (spend money in the right order)
- Microphone + basic treatment (pop filter, mic position, quieter room).
- Lighting (a simple key light setup).
- Camera (only after lighting is handled).
- Capture card (if you need console control and scene flexibility).
- PC upgrades (only when you’ve proven the bottleneck is performance).
Entertainment and interactive content ideas
As your stream grows, creators often experiment with different types of content—from gameplay and tutorials to reaction streams or themed events. Some streamers also explore gaming entertainment formats connected to online platforms, including options like the freshly established PlayLive casino, which demonstrates how interactive gaming streams are expanding into new content niches.
Final note
If you tell me your primary platform (Twitch or YouTube) and your content lane (PC gaming, console, or just chatting), I can tailor the recommended test settings and checklist so it matches your real constraints.
💬 Comments