
With the ongoing pandemic and new variant coming every month, the public stays indoors. The connection is online, which means that the sending and receiving videos is occurring through social networking websites. Video files are of the size 10.5GB if they have a resolution of 1080p, and storing them is a nightmare. Compressing the video solves this problem for videographers.
Additionally, videos are often sent via email at the workplace. Video compression is the only way to get through the hard times. Therefore, Wondershare UniConverter would be introduced in detail. Some other best video compressors would also be the crux of the article. So, time to begin!
How Does Video Compression Work?
Before getting into the article’s climax, it is important to understand how video compression works. Understanding the magic is essential so that the videographers and content creators can consider this solution for their problems.
- Compression Algorithms
The video compression takes place through a video codec that works on multiple compression algorithms. The process occurs by getting rid of repetitive images and videos reduce the file size exponentially. It means that most videos have similar backgrounds, audios, sounds, and scenes catered by removing the data and limiting the video file size.
- Change of Format
After the video is compressed, the original format is changed into a different one based on the codec. Essentially, the video player should support the format to ensure effortless playing.
- Right Use of Codecs
The right use of codecs is extremely important for video compression. The lossy codecs format reduces the size, but they also play video quality. Therefore, professionals are never suggested to use it. On the other hand, the lossless codec formats don’t alter the video quality.
The Best Video Compressors in 2024
1. Wondershare UniConverter
Now that we have realized the importance of reducing file size, let us shift our focus to some of the best video compressors in the market. The subsections reflect upon the workability of Wondershare UniConverter in detail, along with other video compressors of 2024.
Let us first look at the basics, workability, and advantages of Wondershare UniConverter. Let us start!
Basics of Wondershare UniConverter
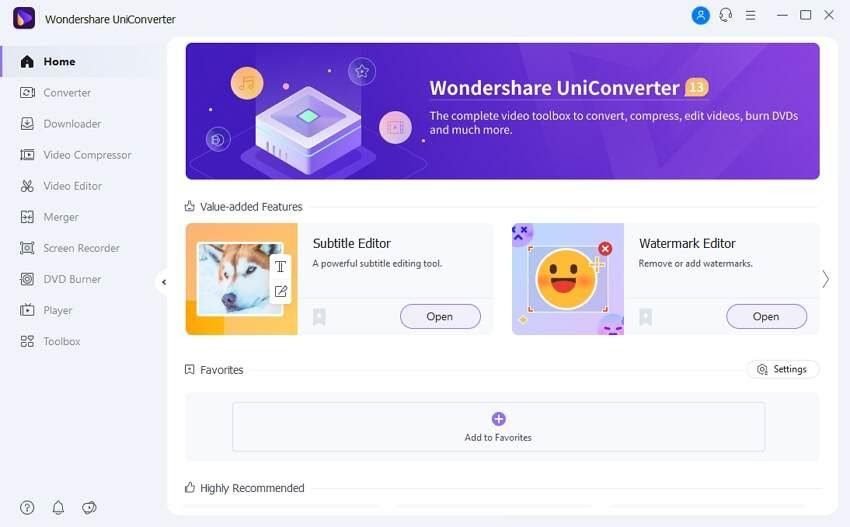
The first video compressor bringing a revolution in the market is Wondershare UniConverter. It is a complete toolbox that involves recording videos, playing videos, compressing and merging videos, and playing with its editing. Additionally, the advanced tools allow you to add subtitles, add or remove watermarks, and auto reframe the video.
The tool is compatible with Windows and Mac and offers a clean interface to process the videos. Moreover, there is an online UniConverter, also known as Media.io.
Pros of Wondershare UniConverter
Every tool has its fair share of advantages. Following are some upsides of using Wondershare UniConverter for compressing the videos:
- Lossless Quality: The user can carry out the video compression process without losing any quality. You can use Wondershare UniConverter from Windows and Mac and achieve great results.
- Altering the Parameters: The video compression in Wondershare UniConverter comes with multiple luxuries. The user can change the size, resolution, bitrate, frame rate, and output format.
- Editing Options: Most content creators prefer to edit the video before reducing file size. UniConverter has got you covered. You can trim, crop, rotate, add watermarks, insert subtitles, and apply numerous effects without any hesitation.
- Batch Processing: Another promising pro of using the compression tool of Wondershare UniConverter is batch processing. All the videographers can compress their files simultaneously without wasting a single second. Thus, productivity is ensured multifold. The batch processing doesn’t lose any quality, hence a win-win, don’t you agree?
- Fast Video Compression: The tool works on APEXTRANS technology. It means that the video compression process is 30 times faster than any other tool in the market. APEXTRANS technology is an industry-leading phenomenon at the moment.
- File Formats and OS Compatibility: There are infinite file formats compatible with the tool. Moreover, Wondershare UniConverter supports various operating systems, so you do not have to worry about the system in use. All versions of Windows and Mac are supported, along with the Mac M1 chip.
Procedure of Compressing Videos in UniConverter
The subsection highlights the step-by-step guide to compress videos on Windows, Mac, and online. Let us start with the Windows guide.
Using Windows
Step 1: Launching UniConverter
Launch Wondershare UniConverter and click on “Video Compressor” from the left panel. Tap on the (+) sign to insert the targeted video file to be compressed.

Step 2: Altering the Settings
The video will show on the interface. The user is expected to click on the “Settings” and change the size, quality, format, resolution, and bitrate. Click on “OK” afterward.

Step 3: Compress the Video
Set the final location to save the video and hit “Compress.” The compressed video can be found in the “Finished” tab and the system.

Using Mac
Step 1: Input the Video
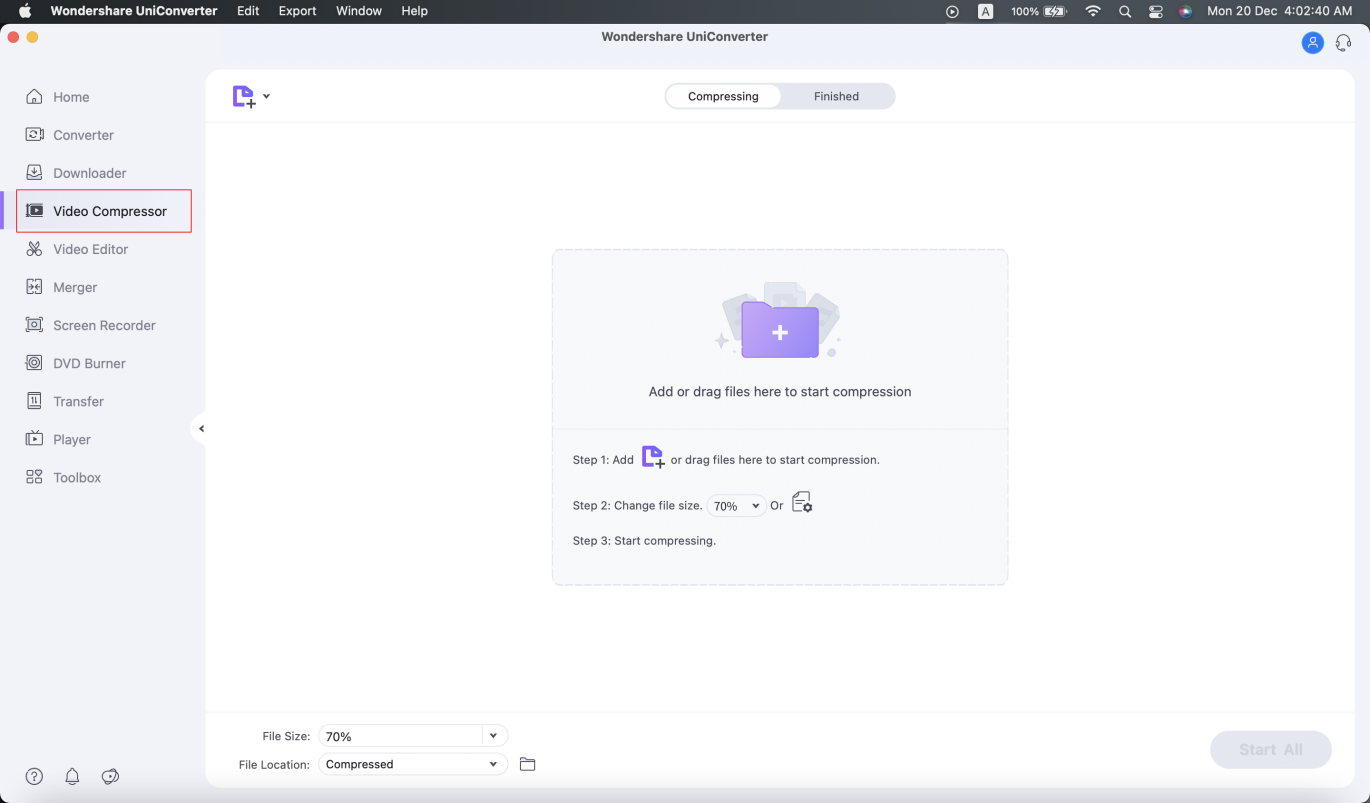
Open Wondershare UniConverter from your Mac computer. Tap on the “Video Compressor” from the list of menus on the left side. Input the video or multiple videos that need to be compressed.
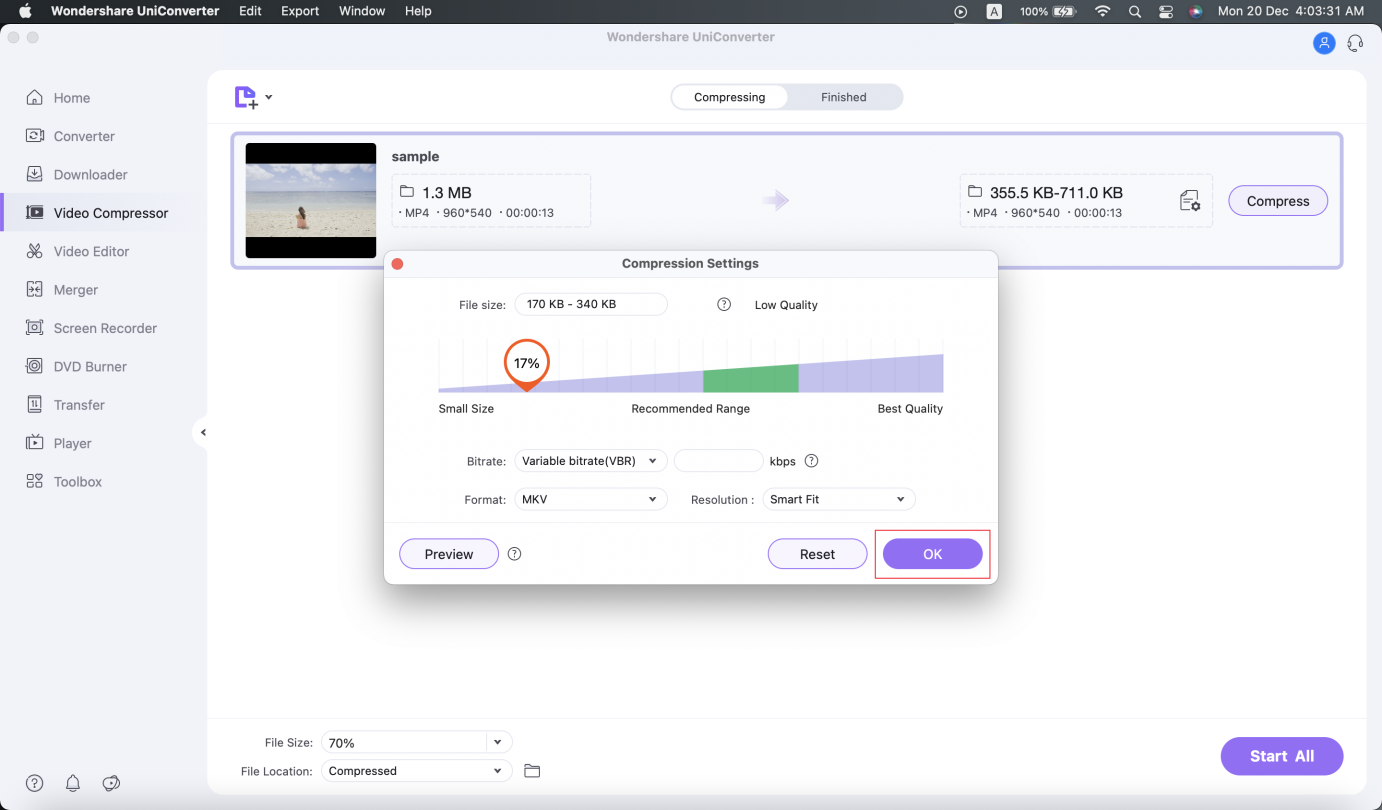
Step 2: Change the Desired Settings
You can change the percentage of the file that needs to be reduced. Similarly, alter the video format, bitrate, resolution, size, and quality. Preview the video after you are done changing the settings. After that, hit the “OK” button.
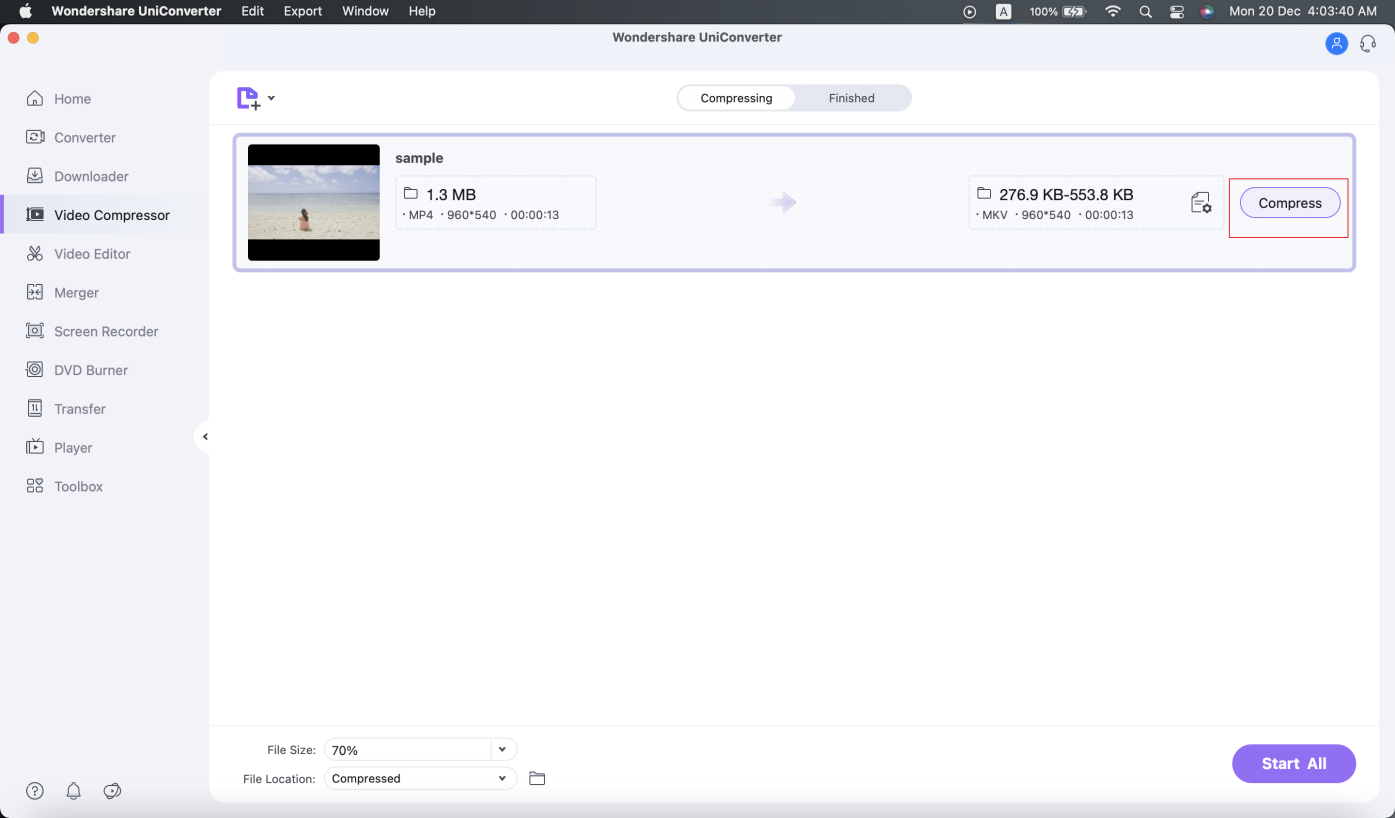
Step 3: Save the Video
Set the file location of your compressed video. Then in the last step, click on “Compress” button to initiate the process. The video can be accessed from the file location you set for your video.
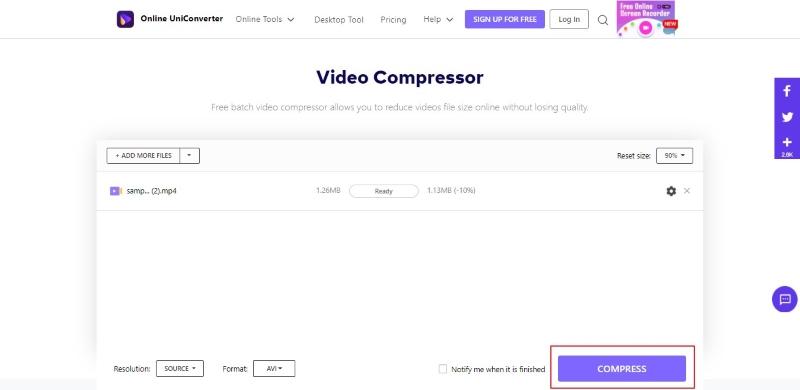
Using Online UniConverter
Step 1: Changing the Settings
Visit Online UniConverter from your browser to access the “Video Compressor” tool and click on “Choose Files” to input the videos. Change the settings of the video such as resolution, bitrate, size, and output format.

Step 2: Downloading the Video
Click on “Compress” so that the process can begin. After the video is compressed, download it to access it from your system.
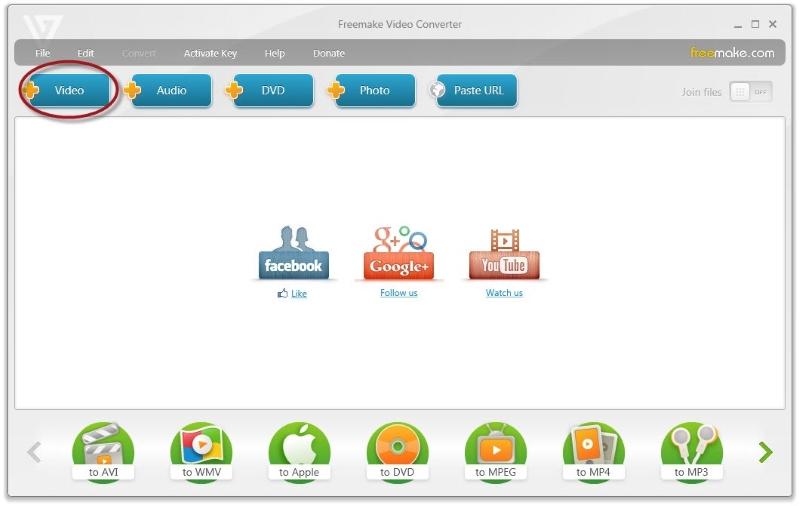
2. Freemake Video Converter
Freemake Video Converter is one of the best video compressors in town, taking charge of the world. Supporting more than 500 formats, you can count on this tool to handle video resizing, conversion, downloading, compression, and whatnot.
The procedure to compress your videos using Freemake Video Converter is:
Step 1: Launch Freemake Video Converter on your PC. Drag and drop the targeted video file afterward or click on the “Video” button to import the video file. Choose the final output from the bottom panel.
Step 2: A dialogue window appears. Choose the video quality as same as source and enter the file location. You can also limit the output size of the video. Click on “Convert” after that.
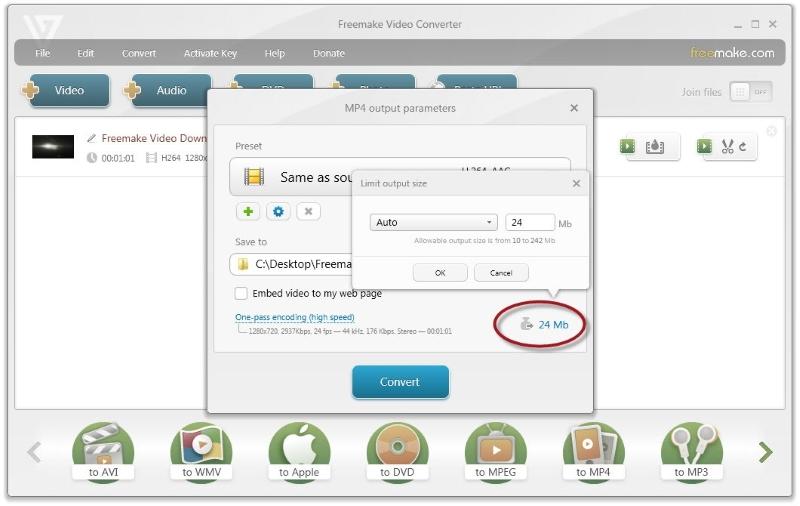
Step 3: After a couple of minutes, the video will be compressed.

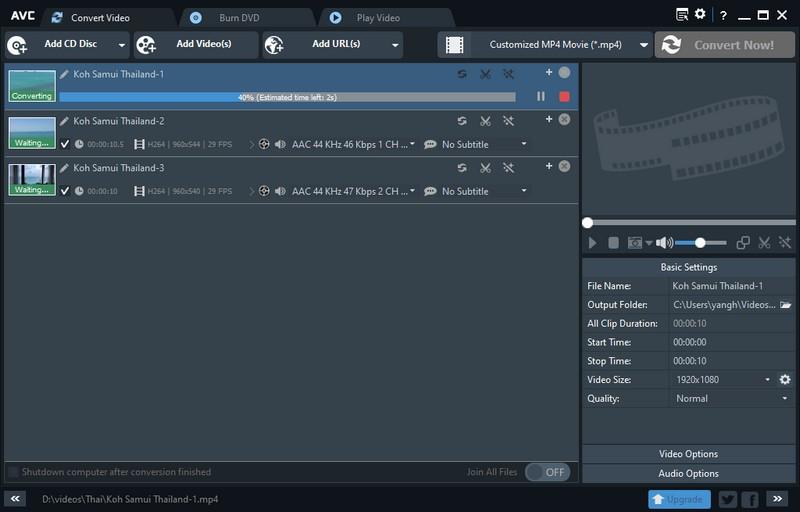
3. Any Video Converter
Any Video Converter is a famous desktop software available for Windows and Mac. The application is responsible for video resizing, conversion, and editing. There are no ads to slow down the process. Additionally, more than 100 formats can be used as input files.
Following is a comprehensive guide for reducing file size using Any Video Converter.
Step 1: Open Any Video Converter from your system. Drag and drop the files after the interface appears or click on the “Add Videos” button. The files shall appear in the editor window.
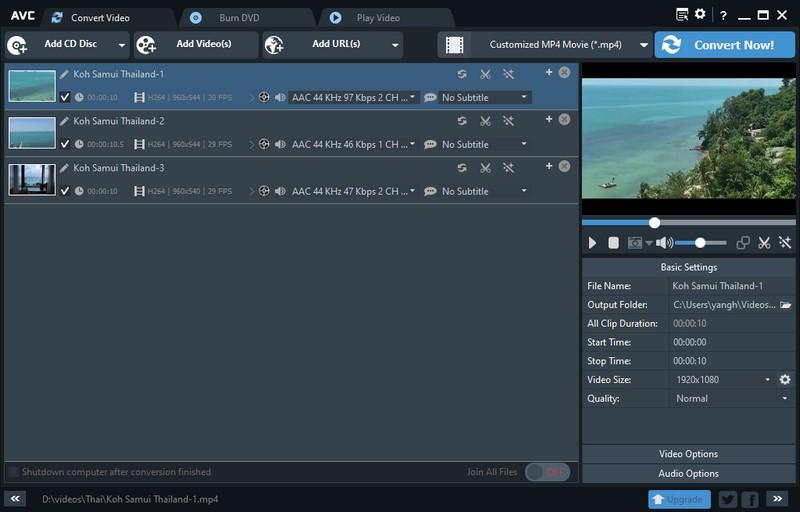
Step 2: Click on the drop-down menu in the “Output Profile” icon. Tap on the “Customized MP4 Movie” option as the final format. Unfold the basic settings to alter the video, such as resolution and quality. Moreover, change the video codec to x265.

Step 3: Click on the “Convert Now” button to initiate the process. The process takes a couple of minutes to reduce the file size.
4. VLC Media Player
As an open-source multimedia player, VLC also works as a video editor, playing a pivotal role in reducing file size. The tool cuts the unwanted parts of a video and alters the bitrate and frame rate of the video. Follow the steps below to compress the video using VLC Media Player.
Step 1: Open VLC from your PC. As the player opens up, click on “Media” from the top panel and then “Convert/Save” from the context menu that appears.

Step 2: A new window appears. From there, click on “File” and then “Add” to browse the targeted video files. After you are done, hit “Convert/Save.” The “Convert” window comes up.
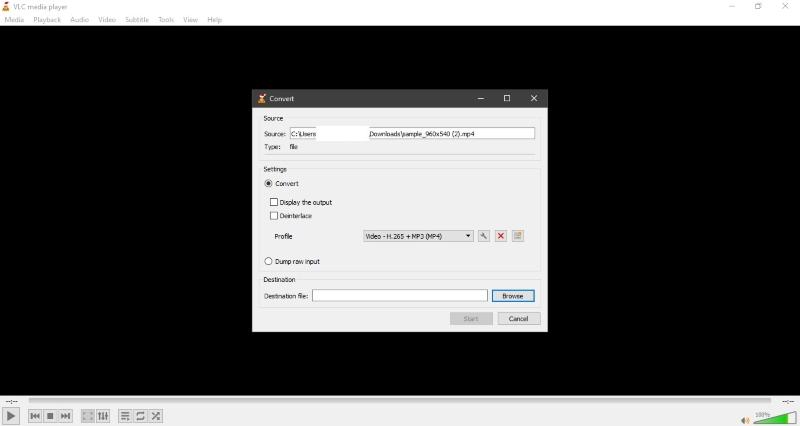
Step 3: Set the target format from the “Profile” tab and click on the “Edit” icon. Navigate to the “Video Codec” bar from the “Edit” window that pops up. Check for the bitrate, quality, and frame rate of the video.
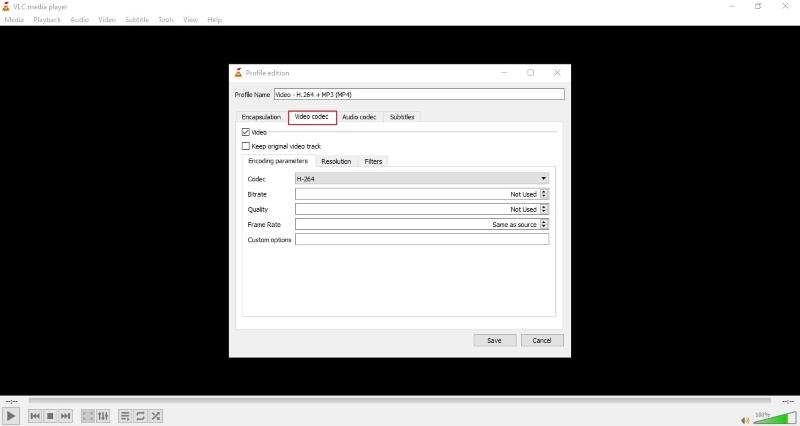
Step 4: Click on the “Save” button and then browse the destination file for your compressed video file. Tap “Start” to initiate the process.

The Bottom Line
Playing with videos has become part and parcel of lives. People share videos with their loved ones, friends, family, team members, and employers to get their work done. Video compression is essential so that sharing process goes without any friction. Therefore, the article introduced the compressor tool of Wondershare UniConverter and shed light on some best video compressors in town.
💬 Comments