Backing up your Android phone is one of the most important habits you can build — most people only realize that after they lose their data. Whether you’re about to flash a custom ROM, perform a factory reset, switch to a new device, or simply protect yourself from unexpected hardware failure, a current backup makes the difference between a ten-minute recovery and hours of data reconstruction.
This guide covers every practical backup method available on Android in 2026 — from the simplest automatic cloud backup to full system images using custom recovery. Each method is rated by what it actually protects, so you can pick the right approach for your situation without guessing.
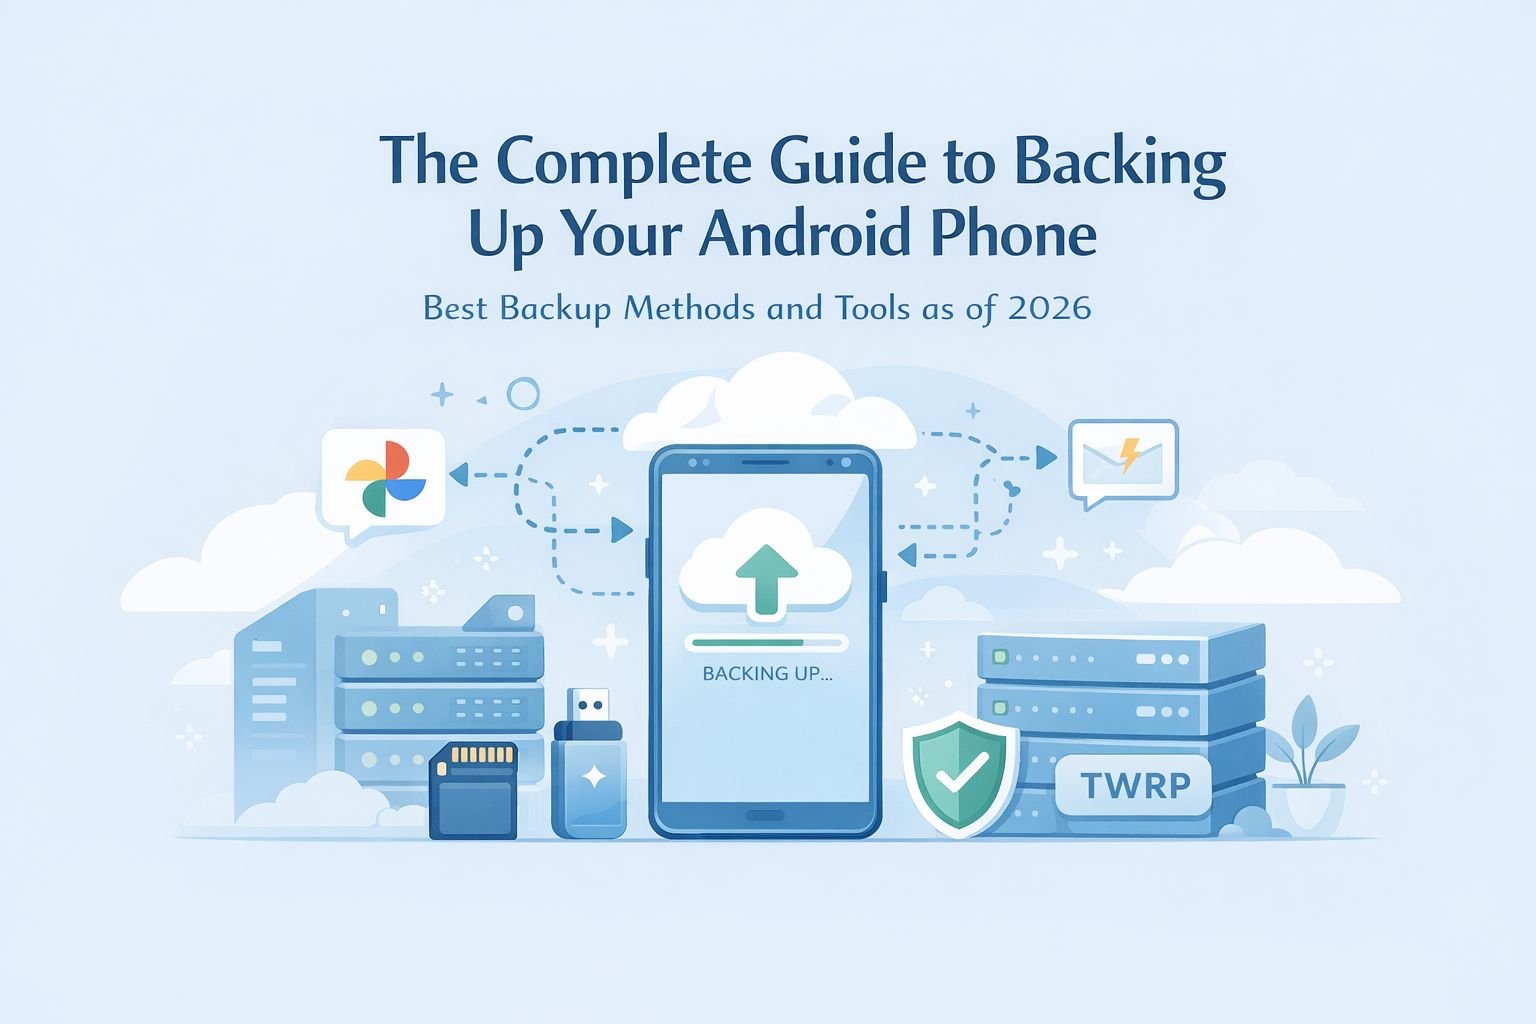
Quick Take
- For most users: Google One backup covers contacts, messages, call logs, app data, and device settings automatically — no extra apps needed.
- For photos and videos: Google Photos handles media backup separately; configure it alongside Google One.
- For app-level control: Swift Backup gives granular control over APKs, messages, and (with root) full app data.
- For rooted phones: Swift Backup with root access or a TWRP nandroid backup delivers the most complete protection available.
- Before any flash operation: TWRP nandroid backup is non-negotiable — it is the only method that captures your full system state and lets you reverse a failed flash.
What Android Backup Actually Covers (By Method)
Android backup is not a single operation — it is a collection of separate data types, each requiring a different approach. No single app or method captures everything without root access. Understanding this upfront prevents the painful discovery that something critical was not included in your backup.
| Data Type | Google One | Swift Backup (no root) | Swift Backup (rooted) | TWRP Nandroid |
|---|---|---|---|---|
| Contacts | ✓ | ✗ | ✗ | ✓ |
| SMS / MMS | ✓ | ✓ | ✓ | ✓ |
| Call logs | ✓ | ✓ | ✓ | ✓ |
| App APK files | ✗ (reinstalls from Play Store) | ✓ | ✓ | ✓ |
| App data and settings | Partial (developer opt-in) | ✗ | ✓ | ✓ |
| Photos and videos | Via Google Photos | ✗ | ✗ | ✓ |
| Wi-Fi passwords | ✓ | ✗ | ✓ | ✓ |
| Operating system | ✗ | ✗ | ✗ | ✓ |
For most users who are not flashing ROMs, Google One plus Google Photos covers the majority of what matters. For anyone doing ROM changes, kernel flashing, or deep system modifications, TWRP nandroid backup is the correct tool — and it should be done before every flash operation, not after.
Method 1: Google One Backup (Best for Most Users)
Google One backup is the built-in Android backup system that runs automatically in the background once enabled. It requires no app installation, no manual triggering, and no technical knowledge. According to Google’s official Android backup instructions, it covers contacts, SMS messages, call history, device settings, app data where the developer has opted in, and saved Wi-Fi passwords.
The critical limitation to understand: app data backup depends on the app developer enabling it. Google-made apps back up reliably; third-party apps back up partially or not at all. Game progress is notoriously inconsistent unless the game has its own cloud save. According to Android Authority’s December 2025 report, Google is actively expanding this system — upcoming Android versions will add downloads folder backup and per-app backup controls, which should close many of the current gaps.
How to Enable Google One Backup
- Open your phone’s Settings app.
- Tap Google > Backup. (On some devices: Settings > System > Backup.)
- Toggle Back up by Google One to On.
- Select the data categories to include: Photos and videos, Device data, or both.
- Tap Back up now to run an immediate backup rather than waiting for the scheduled sync.
All Google accounts include 15 GB of free storage shared across Drive, Gmail, and Photos. If your backup exceeds this, you will need a Google One paid storage plan — the entry-level 100 GB tier is the most common upgrade. For most users keeping photos in Storage Saver format, the 15 GB allocation is sufficient for the device backup component alone.
Important: Google One backup can take up to 24 hours to complete on first run. For automatic backup to trigger, your phone must be connected to Wi-Fi, plugged in to charge, and the screen must be off. You can check the last successful backup time under Settings > Google > Backup.
How to Restore from Google One Backup
- During the initial device setup process (after factory reset or on a new phone), sign in to your Google account when prompted.
- When asked if you want to restore from a backup, select the most recent backup listed for your account.
- Choose which data types to restore and confirm.
- Apps reinstall from the Play Store automatically; contacts, messages, and settings restore in the background.
Google One restore only works during the device setup wizard — it cannot be triggered after setup is complete. If you need to restore after setup, individual data types (contacts, messages) must be restored manually through their respective apps.
Method 2: Google Photos (Media Backup)
Google Photos is the dedicated backup solution for photos and videos and operates independently from the Google One device backup. Even when Google One is enabled, media backup runs through Google Photos separately and must be configured on its own — they do not automatically enable each other.
How to Set Up Google Photos Backup
- Open the Google Photos app.
- Tap your profile picture (top-right corner) > Photos settings > Backup.
- Toggle Backup to On.
- Choose your upload quality:
- Storage saver — Compressed quality; ideal for saving space without visible loss at typical viewing sizes.
- Original quality — Full resolution; counts against your 15 GB Google storage quota.
- Under Backup over, select whether to sync on Wi-Fi only or allow mobile data uploads.
Once enabled, all existing and future photos and videos sync automatically. To restore on a new device, sign into the same Google account and open Google Photos — the full library reappears without any manual action. The only requirement is an active internet connection.
Method 3: Swift Backup (App-Based Backup, Rooted and Non-Rooted)
For users who need control beyond what Google One provides — particularly local APK archives, exportable message files, or full app data on rooted devices — Swift Backup is the most reliable third-party option on Android as of 2026. Install it directly from the Swift Backup listing on Google Play to ensure you have the current, verified version.
On non-rooted devices, Swift Backup handles app APK files, SMS and MMS messages, call logs, and applied wallpapers — useful for preserving locally installed apps and exportable message archives before a reset. On rooted devices, it expands to full app data restoration, Wi-Fi network configurations, and special per-app settings, making it the practical successor to Titanium Backup for modern Android.
Note on Titanium Backup: Titanium Backup was the dominant root backup tool for many years. However, it has not functioned reliably on Android 10 and later — user reports confirm that any data Titanium restores on modern Android requires a full data clear to work, which defeats the restoration entirely. For any device running Android 10 or newer, use Swift Backup instead. Titanium Backup remains functional only on Android 9 and below.
How to Use Swift Backup (Non-Rooted Device)
- Install Swift Backup from Google Play and open the app.
- Grant the requested permissions (SMS access, storage access).
- Tap Apps to see your installed applications. Tap Batch Actions > Backup to archive all app APKs at once, or select apps individually.
- Tap Messages to back up SMS and MMS archives to a local file.
- Tap Call Logs to export call history.
- Choose your backup destination: internal storage, external SD card, or a cloud service (Google Drive, Dropbox, OneDrive, MEGA).
- To restore, install Swift Backup on the target device, point it to the backup location, and select the items to restore.
How to Use Swift Backup (Rooted Device)
- Open Swift Backup after installation and grant root (superuser) access when prompted by your root manager.
- Additional options become available: App data, Special app data, and Wi-Fi configurations.
- Tap Apps > Batch Actions > Backup to back up all apps with full data simultaneously.
- Store the backup on your external SD card — cloud upload requires the premium subscription.
- After a ROM flash, install Swift Backup on the new ROM and use batch restore to reload your apps and their data.
Restoring app data across major Android version jumps (for example, from Android 13 to Android 15) may not work correctly for all apps due to changes in data storage architecture between releases. Test your most critical apps individually first rather than doing a full batch restore blindly.
Method 4: Manual Local Backup (Contacts and Messages)
Every Android phone includes a built-in option to export contacts — no third-party app required. This is worth doing as a redundant local copy even when Google One is active, because it produces a portable .vcf file you can store anywhere, import on any device, and access without a Google account.
Exporting Contacts to VCF
- Open the Contacts app.
- Tap the menu icon (three dots or hamburger) > Import / Export > Export to storage.
- Choose External SD card as the destination — internal storage is wiped during a factory reset and will take your backup with it.
- A
.vcffile is created at the root of your selected storage. - Copy this file to your computer or upload it to cloud storage as a secondary copy.
To restore, navigate to the same Import / Export menu, select Import from storage, and choose the .vcf file. Selecting your Google account as the import destination syncs the contacts to Google Contacts, making them available on any future device automatically.
Backing Up Messages (Built-In Options)
Native SMS backup varies by manufacturer. Xiaomi devices support message sync through a Mi Account. Samsung offers SMS export through Samsung Cloud or via the Messages app settings menu. On devices without a built-in option, Swift Backup or Super Backup: SMS & Contacts (available on the Google Play Store) can export messages to a local archive file that can be restored without root.
Method 5: Full Backup on a Rooted Android Phone
Rooting grants system-level access that makes complete backups genuinely possible — including app data, system settings, Wi-Fi configurations, and the operating system partition. If you actively modify your device, flash ROMs, or test custom kernels, a rooted backup workflow is not optional. Before proceeding, ensure your device is already rooted; our Android rooting guide covers the most common methods by chipset.
The two rooted backup tools complement each other rather than compete. Swift Backup is better for selective restoration of individual apps and their data — particularly useful when migrating between ROMs. TWRP nandroid backup is better when you need to restore the entire system state as a single operation after a failed or unwanted flash. Use both.
For a complete walkthrough of flashing and modifying Android system partitions, the SP Flash Tool guide for MTK devices covers the full flashing workflow including pre-flash backup requirements.
Method 6: TWRP Nandroid Backup (Complete System Image)
A TWRP nandroid backup creates a near-complete image of your Android system — the operating system, all installed apps, all app data, and personal files — captured at a specific point in time. As the TWRP backup documentation describes, it restores your phone to the exact state it was in at backup time, right down to which messages were unread. This is the mandatory backup step before any ROM flash, kernel update, or partition modification.
TWRP must be installed on your device before you can use it for backups. Full installation instructions are in our TWRP recovery installation guide. Once installed, the backup process is straightforward.
How to Create a TWRP Nandroid Backup
- Power off your device completely.
- Boot into TWRP recovery. The button combination varies by device — commonly Power + Volume Down held simultaneously at boot, though some devices use Power + Volume Up.
- On the TWRP home screen, tap Backup.
- Select Boot, System, and Data. On some devices, Vendor is also worth including if TWRP exposes it.
- Tap the name field at the top and give the backup a recognizable label such as Stock-ROM-before-LineageOS-install.
- Choose your storage location. If your phone has an SD card, use it. If not, make the backup internally and immediately copy the backup folder to a PC once Android boots again.
- Swipe the bottom slider to start the backup.
- Wait for the process to complete. Large data partitions can take several minutes.
- When finished, tap Reboot System or return to the TWRP home screen.
Best practice: Keep at least one TWRP backup outside the phone itself. TWRP backups are large, and if you later format internal storage while troubleshooting encryption or ROM issues, you can wipe out the only usable copy of your backup.
How to Restore a TWRP Backup
- Boot back into TWRP recovery.
- Tap Restore on the home screen.
- Select the backup folder you want to restore.
- Make sure the required partitions are checked.
- Swipe the bottom slider to begin the restore.
- When the restore finishes, tap Reboot System.
If the restored ROM bootloops after a restore, the cause is usually one of three things: you restored an incomplete backup, you restored a backup made on a different firmware base, or encryption/data partition handling changed between ROM builds. In those situations, restoring only Boot and System may work better than blindly restoring every partition.
Pre-Backup Checklist
Before you back up or reset any Android phone, run through this short checklist. It prevents the two most common failure points: incomplete backups and backups stored in the wrong location.
- Charge the battery to at least 50% before starting any long backup or restore process.
- Confirm where the backup is being saved — internal storage, SD card, cloud storage, or PC.
- For cloud backups, verify you are signed into the correct Google account before pressing Back up now.
- For local backups, copy the final backup files to a computer as a second copy.
- Export contacts to a
.vcffile even if Google sync is already enabled. - Before flashing anything, create a TWRP nandroid backup first and confirm the backup folder exists.
- If you rely on two-factor authentication apps, make sure their recovery/export option is configured separately.
Which Method Should You Use?
The right backup method depends on what you are trying to protect. Most backup mistakes happen because users choose a tool based on popularity instead of the actual recovery goal.
| Your Situation | Best Method | Why |
|---|---|---|
| Switching to a new Android phone | Google One + Google Photos | Fastest restore path during setup; minimal manual work. |
| Factory resetting a non-rooted device | Google One + contacts export + Swift Backup | Combines automatic cloud restore with local redundancy. |
| Saving SMS, call logs, and APK files locally | Swift Backup | Better file-level control than the built-in Android backup flow. |
| Flashing a custom ROM | TWRP nandroid + Swift Backup | TWRP protects the full system; Swift Backup helps with selective app restoration afterward. |
| Testing kernels, Magisk modules, or system mods | TWRP nandroid | Lets you roll back the exact prior system state quickly. |
| Moving app data between rooted devices | Swift Backup (rooted) | Best balance of app-data control and modern Android support. |
When Not to Use These Methods
Not every backup method is appropriate in every scenario. Using the wrong one can waste time or create a false sense of safety.
- Do not rely on Google One alone before flashing a ROM — it does not create a restorable full system image.
- Do not restore full app-data bundles across heavily different Android versions unless you are ready to troubleshoot app crashes.
- Do not store your only backup on internal storage if you are about to unlock the bootloader, format data, or change encryption state.
- Do not use legacy root backup tools on modern Android just because older guides recommend them.
- Do not assume messaging apps like WhatsApp, Signal, or Telegram follow the same backup rules as standard SMS — each has its own export or migration method.
Troubleshooting
Backup by Google One is enabled, but nothing updates
Make sure the phone is on Wi-Fi, connected to power, and has enough Google account storage available. If the last backup timestamp does not change, open the backup settings page and run Back up now manually once, then check again later.
TWRP says there is not enough space
TWRP backups are large because they capture whole partitions. Delete old backups, move files off the phone, or switch the backup target to an external SD card before retrying.
Apps restore, but their data is missing
This usually means you restored via Google One on an app that does not fully participate in Android backup, or you restored APKs without rooted app-data access. For apps that matter, verify whether they provide their own sign-in sync, export tool, or cloud save.
The phone bootloops after a restore
Try wiping cache and Dalvik cache first if your recovery supports it. If that fails, restore a known-good TWRP backup or reinstall the ROM cleanly and then restore only user apps instead of the full system image.
Implementation Checklist
- Enable Google One backup in Settings.
- Enable Google Photos backup separately.
- Export contacts to a
.vcffile. - Copy critical files to a PC or cloud storage.
- Install Swift Backup if you want local APK, SMS, or call-log archives.
- Create a TWRP nandroid backup before any ROM flash or partition change.
- Label backups clearly by date, ROM name, and purpose.
FAQ
Does Google One back up everything on Android?
No. It covers major device data such as contacts, messages, call logs, some settings, and some app data, but it does not replace a full rooted backup or a TWRP system image.
Can I restore a Google backup after I finish setting up the phone?
Usually no. The full restore flow is designed for the initial setup process or immediately after a factory reset.
What is the safest backup method before flashing a custom ROM?
TWRP nandroid backup is the safest full rollback option. Pair it with Swift Backup if you also want selective app restoration after you install the new ROM.
Is root required to back up app data?
For full third-party app data control, yes. Without root, you can back up APK files and some categories like SMS or call logs, but not every app’s internal data directory.
Should I save backups to internal storage or an SD card?
An SD card is safer for flash-heavy workflows because internal storage is often wiped during factory reset, format data, or ROM migration steps.
Is Titanium Backup still worth using?
Only on much older Android versions. For modern Android releases, Swift Backup is the safer and more practical choice.
Can TWRP restore my old Android version exactly?
Yes, if the backup is complete and compatible with the current partition layout and firmware base. That is exactly why nandroid backups are so valuable before experimentation.
Do I still need a manual contact export if Google sync is enabled?
Yes. A local .vcf export is a simple offline fallback and takes less than a minute.
Key Takeaways
- For ordinary users, Google One plus Google Photos is the easiest reliable backup stack.
- For advanced users, Swift Backup adds control that built-in Android backup does not provide.
- For rooted and modded phones, TWRP is the only serious full-system rollback method.
- For any important backup, keep a second copy off-device.
If you are planning a reset next, follow our Android factory reset walkthrough so you do not wipe the device before confirming the backup is usable. If your goal is ROM flashing rather than backup alone, our custom ROM installation sequence guide explains the safest order for backup, wipe, flash, and restore.
💬 Comments