Car stickers and decals are one of the cheapest ways to make your ride stand out, show off your personality, or promote a business (they can work like low-cost moving signage, similar to other online advertising).
In this guide, you’ll learn how to place and apply a decal cleanly, how to avoid bubbles and crooked installs, and what to do if something goes wrong.
Quick take (read this first)
- Clean, dry, and decontaminated surfaces matter more than “perfect technique.”
- Use the masking-tape hinge method so you don’t stick it down crooked
- Work in shade, not direct sun, and avoid cold panels
- Don’t wash the car for at least – 48 hours after applying (longer if it’s cold)
- When in doubt, follow the decal/vinyl manufacturer’s instructions for your exact material
What you’ll need
- Car sticker/decal (with transfer tape if it’s cut vinyl)
- Microfiber cloth (lint-free)
- Mild car shampoo + water (or warm soapy water)
- Isopropyl alcohol (IPA) for final wipe (spot-test first)
- Masking tape or painter’s tape
- Plastic squeegee or an old bank/loyalty card wrapped in microfiber
- Optional: hair dryer/heat gun on low (for gentle curves), hobby knife/scissors (for trimming)
Time estimate: 10–30 minutes for small decals, 30–90 minutes for large graphics.
Difficulty: Easy to medium, depending on size and panel curves.
Step 1: Pick the right spot (and check the rules)
Car decals can be applied to virtually all vehicle surfaces, including the sides, windows, back, and bumpers. It can be applied to painted panels, glass, and smooth plastics, but results vary widely depending on the surface.
Before you commit:
- Avoid deep scratches, flaky clear coat, or fresh paint that hasn’t fully cured
- For windows, make sure you’re not blocking the driver’s view (rules vary by location)
- If the area has wax, sealant, or ceramic coating, adhesion can be weaker unless you prep properly
Step 2: Test the placement (use the tape “hinge”)
This is the easiest way to get a straight install.
- Hold the decal in place and step back 2–3 meters to check alignment
- Tape the top edge (or center line for big decals) with masking tape so it “hinges” open and closed
- Double-check it looks level relative to body lines, not the ground (cars don’t always sit perfectly level)
Tip: If you’re applying text, take a quick photo and use your phone’s grid lines to judge straightness.
Step 3: Prep the surface properly
Good prep is what keeps edges from lifting later.
- Wash the area with car shampoo/warm soapy water, then rinse
- Dry completely with a clean microfiber
- Do a final wipe with isopropyl alcohol to remove oils and residue (especially important near door handles and on bumpers)
- Wait a minute for any remaining moisture to evaporate
Avoid: heavy “leave-behind” cleaners and anything that adds gloss or protection right before install, because it can interfere with adhesion.
Step 4: Apply the decal (dry method, controlled)
For most small-to-medium decals, dry application is the simplest and safest.
- Flip the decal up on its tape hinge
- Peel a small section of backing (about 1/3), then fold the backing under itself
- Lightly tack the exposed edge onto the panel
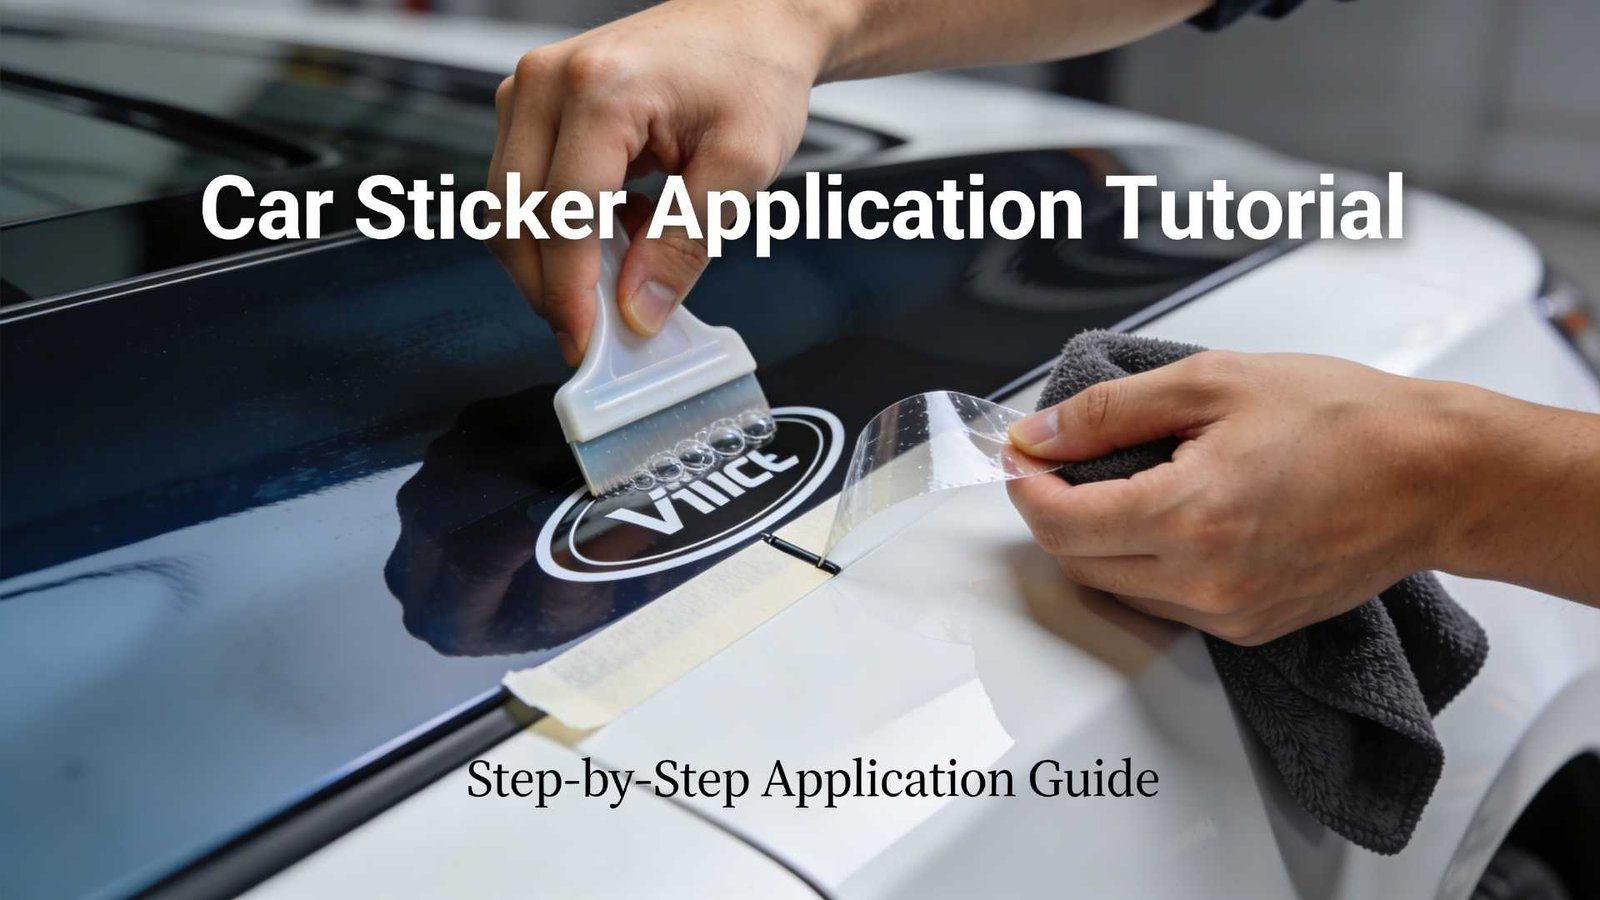
- Squeegee from the center outward using firm, even strokes
- As you go, slowly pull away more backing while you keep squeegeeing
Keep tension under control: don’t stretch vinyl to “make it fit,” because it can shrink back later and lift at the edges.
Step 5: Remove transfer tape (if included)
If it’s cut vinyl with transfer tape:
- Wait a couple of minutes after squeegeeing
- Peel the transfer tape back on itself at a low angle (≈180∘)
- If any letter/edge lifts, lay the tape back down and squeegee that area again
Step 6: Finish and seal edges
- Run the squeegee gently along edges one more time
- If the decal sits on a mild curve, warm it lightly with a hair dryer (low heat) and press it down again
- Avoid aggressive heat; too much can warp vinyl or damage paint
Aftercare (so it lasts)
- Don’t wash the car for – hours (longer in cold or damp weather)
- Skip pressure-washing directly at decal edges for the first week
- If you wax later, avoid packing wax residue into the decal edges
Common mistakes + fixes
Symptom: Bubbles appear during install
Likely cause: You trapped air while laying it down too fast
Fix: Lift that section gently (if possible) and re-squeegee; for tiny bubbles, wait – hours since some dissipate, then puncture minimally at the edge of the bubble and press flat
Symptom: Wrinkles or creases
Likely cause: Vinyl folded onto itself or stretched over a curve
Fix: Carefully peel back before it fully grabs, then reapply with slower squeegee strokes; on curves, use light heat and avoid stretching
Symptom: Edges lift after a day or two
Likely cause: Poor cleaning, wax/ceramic residue, or installing in cold temps
Fix: Clean around the edge (carefully), warm the panel slightly, then press and hold; if it keeps lifting, the surface may be incompatible or contaminated
Symptom: It won’t stick to textured plastic (like some bumpers/trim)
Likely cause: Vinyl needs a smooth surface for reliable contact
Fix: Move to a smoother area, or use material specifically rated for textured surfaces (verify with the decal seller)
FAQ
Should I use a wet method (soapy water) to apply decals?
Sometimes, but only if the vinyl manufacturer recommends it for your specific decal and you’re comfortable with the extra steps. Wet installs can help with large graphics on flat panels, but they can also delay adhesion and cause edge lifting if not done correctly.
Can I apply a sticker over wax or ceramic coating?
You can try, but adhesion is less predictable. If you want it to last, remove oils and residue in that area first and expect that some coatings make removal easier but bonding weaker.
What’s the best temperature to apply car decals?
Moderate temps are best. If the panel feels cold to the touch, warm it slightly and work in the shade; if it’s very hot in direct sun, move to shade so the adhesive doesn’t grab too fast.
Will a decal damage my paint?
On healthy factory paint, quality vinyl usually removes cleanly. On old paint, resprayed panels, or failing clear coat, removal can pull damaged layers up, so test a small area first.
How do I remove a car sticker later?
Warm it gently, peel slowly, then remove leftover adhesive with a paint-safe adhesive remover or isopropyl alcohol (spot-test first). Finish with a wash.
Can I put decals on the inside of a window?
Yes, if the decal is designed for inside-glass application (reverse-printed or correct adhesive orientation). Otherwise, it may look wrong or not adhere properly.
💬 Comments