You can refresh your kitchen on a budget by painting or restaining existing cabinets, updating hardware, deep cleaning all surfaces, and using vertical hanging racks for functional decor. These targeted DIY steps transform your cooking space without replacing expensive cabinetry or changing the room layout.
Quick Take
Replacing custom kitchen cabinets often costs several thousand dollars. You can achieve a modern look for under $300 by doing the work yourself. A budget kitchen refresh takes two to three days of focused work. Your main focus should be on surface cleaning, paint prep, and smart organization.
Prerequisites for a Low-Cost Kitchen Refresh
Before you begin, gather your supplies and check your safety requirements. Having the right tools on hand prevents unnecessary delays during the project.
You will need the following tools and materials:
- Screwdriver or power drill to remove doors and handles
- 150-grit sandpaper and sanding block
- Degreasing cleaner or trisodium phosphate (TSP) substitute
- Painter’s tape and plastic drop cloths
- High-adhesion primer and durable cabinet paint
- Mini microfoam paint roller and 2-inch angled brush
- Microfiber cloths and neutral surface cleaner
If your home was built before 1978, test existing paint for lead before sanding. Disturbed lead paint creates hazardous dust that requires special safety precautions. Check the EPA lead safety guidelines before starting any sanding or demolition work in older homes. If you want to plan your project budget alongside bigger home upgrades, check out our guide on planning home renovation costs.
Step-by-Step DIY Kitchen Refresh Guide
Choose your pathway based on your cabinet material. Solid wood cabinets accept stain or paint easily. Laminate cabinets require a bonding primer before painting.
Step 1: Prep and Refinish Cabinetry
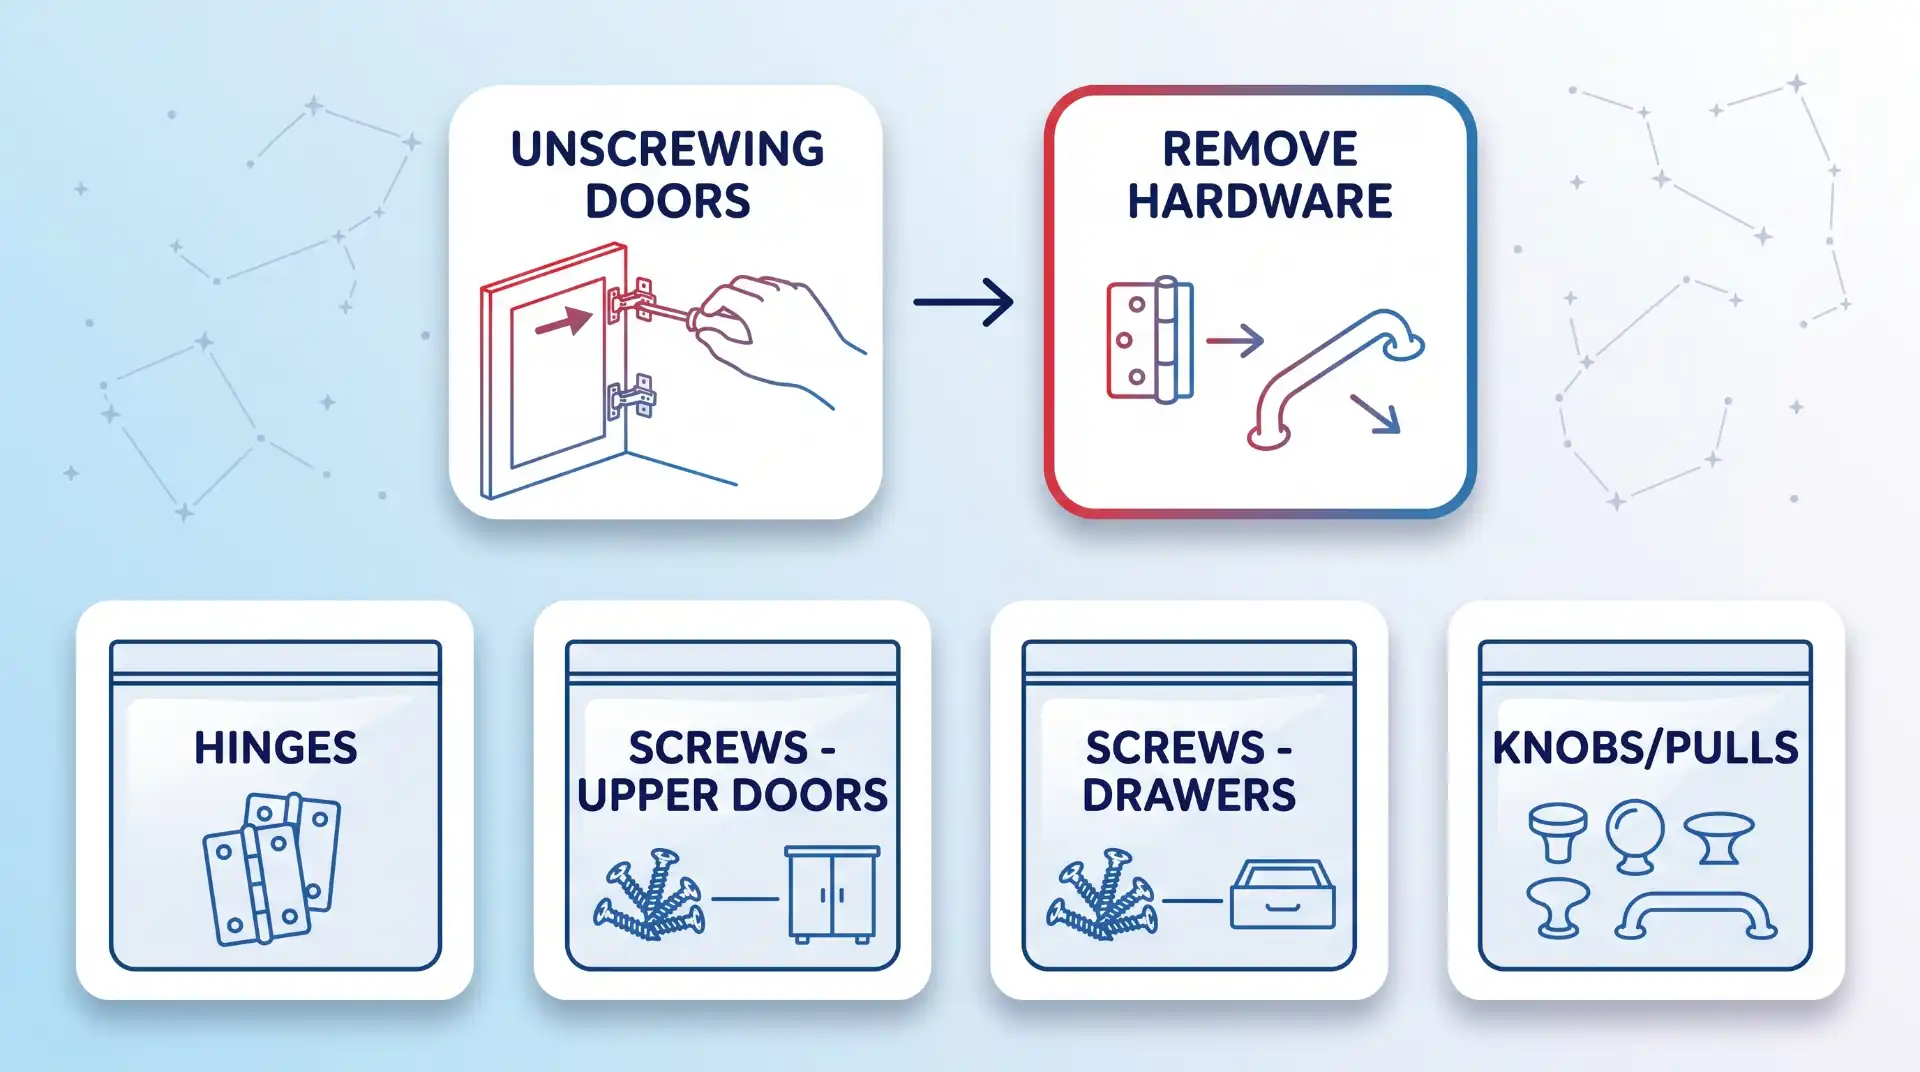
Unscrew cabinet doors and drawers. Remove all hinges and knobs. Store all small metal screws in labeled bags so you do not lose them.
Scrub all cabinet doors with a degreaser to remove cooking grease. Let the surfaces dry completely. Sand all wooden doors lightly using 150-grit sandpaper to break the smooth gloss finish.
Apply one coat of stain-blocking primer using a mini foam roller. Follow the KILZ cabinet priming process for complete adhesion. Let the primer dry for at least one hour. Sand lightly again with fine sandpaper to smooth out imperfections.
Apply two thin coats of cabinet paint. Follow the recommended drying times outlined in the Sherwin-Williams cabinet painting guide between coats. Review the technique tips in the Benjamin Moore cabinet application tutorial for brush technique. Allow the final coat to cure for 24 hours before reattaching hardware. For more project ideas, explore our full list of budget DIY home improvements or our detailed cabinet refinishing guide.
Step 2: Swap Cabinet Knobs and Pulls
Replacing handles gives your kitchen an instant style boost. Measure the distance between screw holes on existing handles before buying new hardware. Standard center-to-center measurements are 3 inches or 3.75 inches.
If you choose new handles with matching hole spacing, drive screws directly into existing holes. If you choose a different size, fill old holes with wood filler, sand flat, paint over them, and drill new pilot holes. Matte black, brushed brass, or polished nickel handles work well in modern kitchens.
Step 3: Deep Clean and Restore Core Surfaces
Clear everything off your countertops. Clean dirt, grease, and dust from cabinet tops, light fixtures, and backsplashes. Pull your refrigerator out from the wall to sweep dust off condenser coils.
Clean natural stone countertops with neutral soap and warm water. Avoid acidic cleaners like vinegar or lemon juice because acid damages sealed stone. Review the Natural Stone Institute care instructions to protect granite or marble counters. For a full step-by-step cleaning breakdown, consult our kitchen deep cleaning checklist.
Verify your refrigerator temperature using an appliance thermometer. Maintain a setting of 40°F or below to store food safely, as recommended by the USDA Food Safety refrigeration standards.
Deep cleaning brightens up your home without expensive remodeling. If you want to track your home value alongside simple DIY fixes, check how much is my house worth using online valuation tools.
Step 4: Install Functional Vertical Decor and Storage
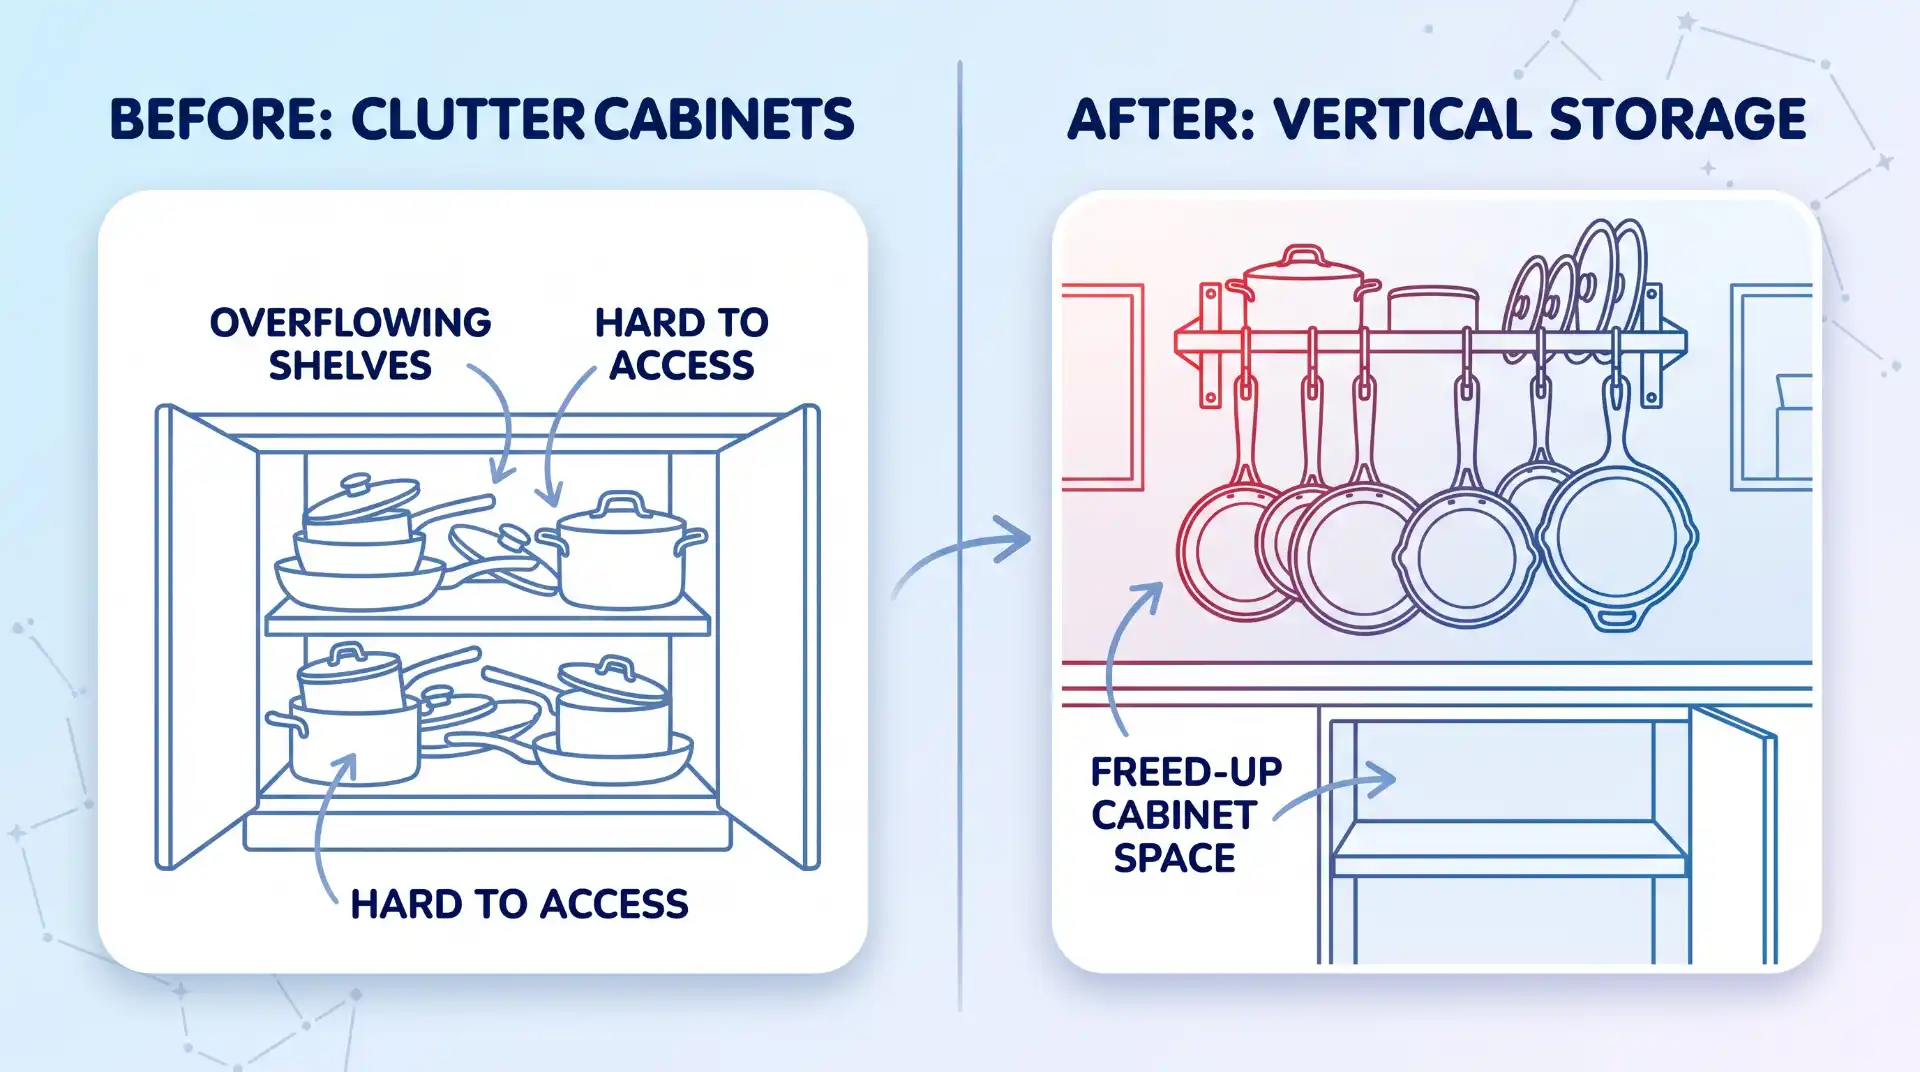
Free up precious cabinet space by moving items onto empty wall space. Mount a wall-mounted metal pot rack or hanging rail over a prep area. Hang stainless steel pans, cast iron skillets, and cooking utensils from sturdy hooks.
Install open wooden shelves on empty walls to display everyday dishes or matching bowls. Group similar items together so shelves look organized rather than cluttered. Learn more layout ideas in our guide to small kitchen organization hacks and our list of under-cabinet lighting upgrades.
How to Verify Your Kitchen Refresh Is Complete
Confirm your DIY kitchen refresh is successful by inspecting these key areas:
- Cabinet doors hang straight and close smoothly without rubbing frame paint.
- New hardware knobs feel tight and align evenly across all drawers.
- Countertops feel smooth, clean, and free of sticky residue.
- Hanging pot racks hold weight securely without wobbling or pulling away from wall anchors.
Troubleshooting Common DIY Kitchen Issues
Paint Peels Off Cabinet Doors
Paint peels when grease is left on wood or when primer is skipped. Remove peeling paint with a scraper. Clean the spot thoroughly with a degreaser. Sand the edge smooth, reapply bonding primer, and repaint the spot.
New Hardware Screws Are Loose or Wobble
Standard screws may be too long for thinner cabinet door panels. Add small metal washers inside the cabinet door to tighten the screw fit. Alternatively, cut the screw shorter using wire cutters.
Stone Counters Look Dull or Streaky
Soap buildup leaves a cloudy film on stone surfaces. Wash the counter with clean warm water and a fresh microfiber cloth. Dry immediately with a towel to restore original shine.
Where This Approach Has Limits
Budget cosmetic updates cannot solve structural home problems. Paint and new handles will not fix warped cabinet frames, rotted wood, or severe water damage. Broken plumbing fixtures, outdated electrical wiring, and cramped floor plans require professional trade services and bigger renovation budgets.
Key Takeaways
- Painting existing cabinets saves thousands of dollars compared to replacing them.
- Proper surface degreasing and sanding prevent paint from chipping later.
- Swapping drawer pulls provides an instant visual upgrade with simple hand tools.
- Vertical wall racks free up drawer space and create functional kitchen decor.
Frequently Asked Questions
How long should cabinet paint cure before heavy daily use?
Cabinet paint dries to the touch in a few hours, but full curing takes 5 to 7 days. Handle doors gently during the first week to prevent chips or scratches.
Can I paint laminate kitchen cabinets on a budget?
Yes. You must clean the laminate thoroughly and apply a high-adhesion bonding primer before applying latex paint. Skipping bonding primer causes paint to flake off smooth laminate.
Do I need to sand cabinets if I use liquid deglosser?
Liquid deglosser softens gloss finishes, but light manual sanding with 150-grit sandpaper creates a better mechanical bond for long-term paint durability.

💬 Comments